Hooray! Your tickets are booked, your stay at EcoCamp has been confirmed, and now you are beginning the search into exactly what to take. This is a bit of a murky rabbit hole to fall in because Patagonia has notoriously unpredictable weather, so you may be left wondering how you will possibly manage to pack it all! With this dilemma in mind, we have compiled your ultimate packing list, your ultimate Patagonia Hiking Essentials!

Patagonia Hiking Essentials: What You Need
- Layers. This is the best way to cope with Patagonia's tempestuous climate!
- Good socks! We recommend that you avoid cotton (they provide no extra cushioning) and instead choose medium-weight synthetic socks with cushioned soles.
- Long thermal underwear is recommended during Patagonia's Spring and Autumn seasons, and outside of this, you will find that synthetic and seamless fabrics work best.
- The weather fluctuates, so you may need shorts as well as trousers (or go for a pair of zip-off trousers). Zipped pockets are also a bonus, allowing you to keep small objects at hand securely. Look for trousers with ‘wicking’ technology as this wicks away moisture from your skin.
- A lightweight pair of waterproof trousers will slip easily over your everyday hiking trousers and keep you dry when it counts.
- Base layer: synthetic material works best, short and long sleeves.
- Insulating layer: fleece jacket or medium-weight sweater. You may prefer a filled jacket.
- Rain/windproof layer: a lightweight waterproof jacket is a necessity in Patagonia, even in the summer.
- If it's chilly, a pair of woolen gloves will do, although waterproof gloves with an in-built synthetic shell is better.
- The sun in Patagonia is particularly strong so you need proper protection from both UVA and UVB rays.
- Two hats are essential! Something wooly that covers your ears for when its cold, and something lighter with a wide brim for when the sun is shining brightly overhead.
How to Pick Boots
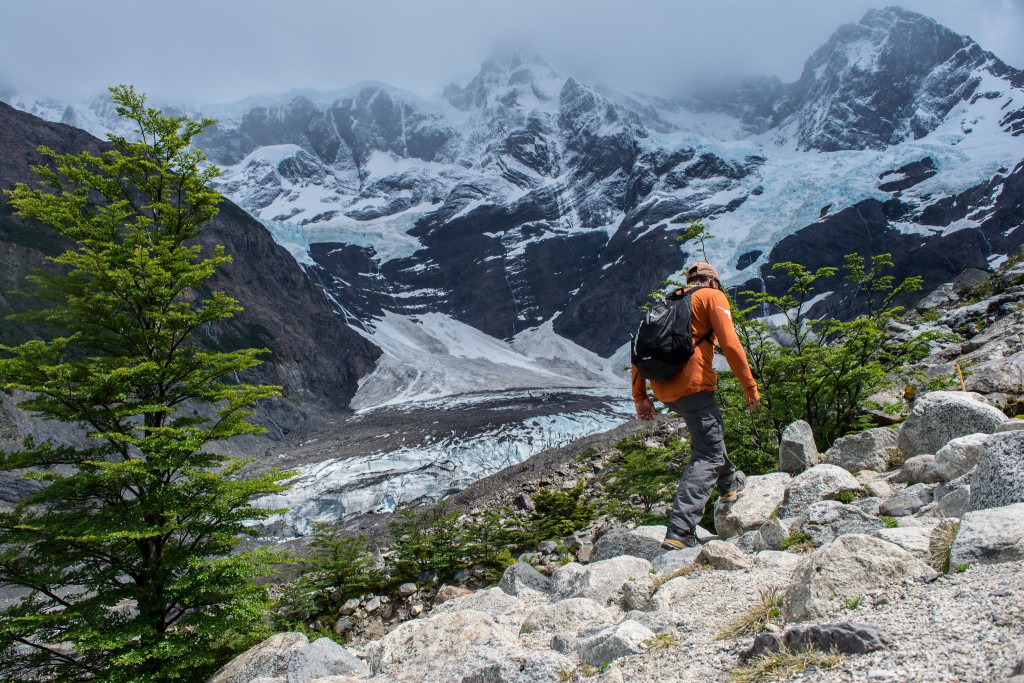
In Patagonia, the land is often steep and uneven (and you may need to navigate ladders and the like) so you do not want to skimp on boots with good support for your ankle, preferably something with padded ankle support.
Patagonia is also notorious for going through five seasons in one day, so you should be prepared for muddy terrain and rain. With this in mind, you should aim for waterproof all-leather boots and even gaiters to stop water from slipping in over the top. It should also be 'deep-lugged' or with deep enough treads to cover various terrain.
In the store, you should ideally try the boots with your hiking socks because they will affect the boot's fit. To check the size, push your feet as far forward as they will go and then see if you can slip a finger in at the back. If your toes are touching the front edge of your boot, you need to go up a size.
Before you leave on your big trip, you must break your boots in! Wear them inside the house for a bit so that they have a chance to mold to your feet (giving you the option to return them if they aren't working for you) and then have a go at practice treks.
How to Pick a Pack
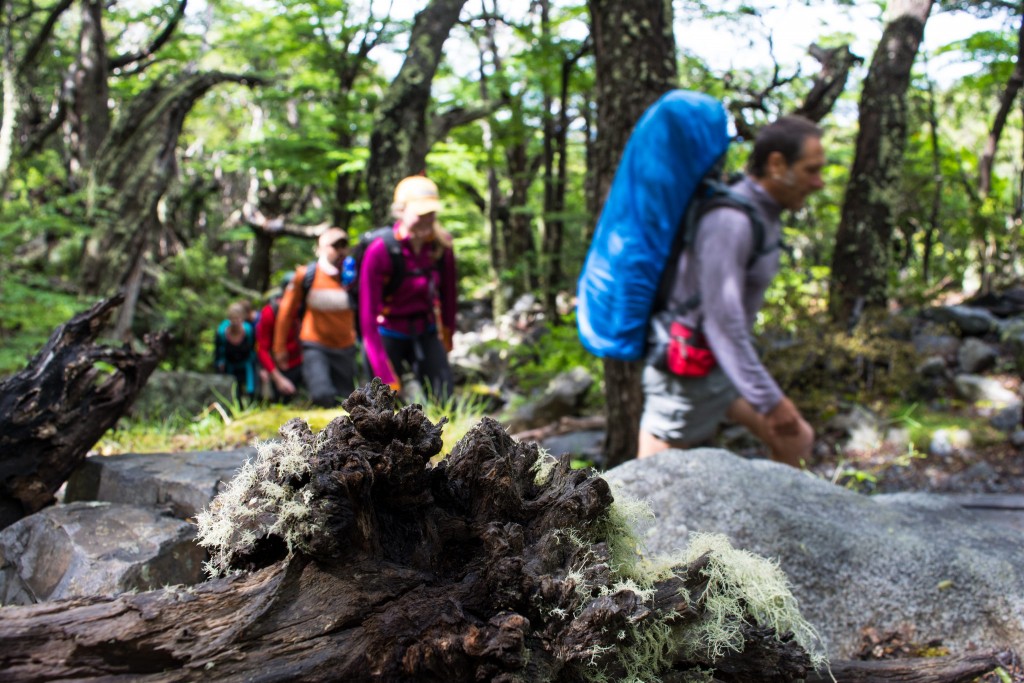
First of all, a daypack is a smaller pack designed to hold 20 to 30 liters - big enough for you to pop in an extra clothing layer, water bottle, snacks and a camera. We recommend that you bring one with a hip belt and plenty of padding/support because, after several hours, even the lightest of daypacks can begin to weigh you down.
Your backpack can contain anything up to 85 liters (depending on what you need to carry), and should have a hip belt, chest strap, and 'load lift' straps to help make you feel more stable.
You want to look at how many pockets the pack has (always useful), if you need it to have a bungee cord (for your sleeping bag or to pop your jacket in when its warm), if it has thick and sturdy zips (double zips are even better), or if it is waterproof (or comes with waterproof pack cover). You may like your pack to have small padlocks to keep your gear safe in public places (while hiking, your fingers will get cold so don't lock it unless you have to).
You also must try the pack on! This is not about choosing the prettiest bag with the best colors, it is about how it works against your body. You are aiming to find something where the weight is evenly spread, squarely over your hips. Packs come in various sizes depending on the length of your torso; to measure your torso, measure from the knobbly bone you can feel at the top of your spine down to the other knobbly bit between your hips. If your torso is 50cm or longer you’ll need a large sized backpack, 45-50cm and you’ll want a medium, and those with torsos shorter than 45cm should choose a small. Then you need to test out the hip belt, tightening it so that it fits nicely around your hips (and not your waist). From there you can adjust the shoulder straps so that the pack sits snugly against your back with no space between (a maximum of 30% of the pack's weight should be on your shoulders). Large backpacks come with load lifters, and this should be kept parallel to your collarbone. Some bags come with an adjustable strap that attaches the shoulder straps together to prevent them from slipping while you hike.
Most specialist stores (or the ones worth their salt) should be able to fill your pack with weights so you can get an idea of how the pack will feel. You should walk around, touch your toes, jump around and walk up some stairs - the backpack should not slip and should move with you.
To Buy or to Rent
Did you know that renting is considered better for the environment than buying? Renting has heaps of perks: less luggage to take around with you, no spending money on something you might rarely use, no risk of paying for excess luggage on the plane ... The great thing about renting in Patagonia is that you will find gear especially for the terrain of the area, and there are plenty of options around to help you. Some things you may want to consider renting include a camp stove, a mess kit (bowls, spoons etc), hiking poles, tent, sleeping pad, a waterproof jacket, waterproof trousers, gaiters and a fleece jacket.
You do not want to skimp on your hiking boots, as these ideally need to be molded to your own feet, as well as a good quality sleeping bag suitable for -10°C.
You can rent all the gear you need at Puerto Natales, which is the town most visitors travel through to get to Torres del Paine National Park. We recommend Casa Cecilia on Tomás Roger street. Kit rental is charged by the day.
What to Look For in a Hiking Snack
- Honey equals a fantastic burst of energy.
- Dried fruit stays fresh, doesn't bruise and offers a big dose of energy! Plus they satisfy those pesky sugar cravings.
- Energy bars can be packed with seeds, nuts, dried fruit, honey, chocolate and are high in calories, which is exactly what you need while hiking. Granola and cereal also contain carbohydrates that will give you a long-term energy boost.
- The dried salty goodness of jerky works wonders on a trek, plus it the protein helps your muscles to recover (meaning less aches and pains). Jerky is also great at satisfying hunger pangs.
- Chocolate and candy, while not the healthiest choices, work wonders in the morale-boosting department.
- Trail mix/scoggin is made up of those tiny miracles of nature that bless hikers everywhere. Throw in whatever takes your fancy, from rolled oats, coconut shavings, carob chips, sunflower seeds, almonds, popcorn, banana chips, cashew nuts, pretzels, milk chocolate chips ... the world is your oyster!
Hiking Hacks
- Remember our motto, 'leave no trace'? This applies to all types of human impact, including human waste in the form of toilet paper. Pop a bit of baking soda (bicarbonato in Spanish) into a ziplock bag and - voila! Odours will be instantly minimized.
- Shining your torch through a bottle of water diffuses the light and creates instant, atmospheric light.
- A dry teabag in used hiking boots helps to keep the smell at bay!
- Worried about how you pack will cope if it rains? Put a strong bin bag inside and your gear will stay nice and dry.
- Keep your phone in a ziplock bag so you don't risk it getting wet.
- To make sure you drink enough water, mark a drink bottle with regular times during the day to remind you to stop and take a sip.
- Wet socks? Fill two water bottles with boiling water and put their lids on. Then roll them over your wet socks and in the morning - wow - they will be dry!
- Use light material (like a handkerchief) as a makeshift water filter, to get any bits out of that pure Patagonian water.
- So that you don't accidentally turn your torch on, turn a battery around the other way when you are not using it.
- Duct tape works wonders as a cheap but effective blister tape!
- Duct tape also helps to fix any boot or drink bottle-related accidents!
- Need rope? Twist a long piece of duct tape and there you go - rope!
- The wonders of duct tape continue. You can wrap it around hot pan handles, repair broken hiking poles AND make little loops so that you can attach things to your backpack - it's clearly a must for your trek!
- When sharing food like trail mix, pour it directly into their hands to stem the spread of germs.
Tips to Travel Lighter
- Make a list, cut it in half and there you go. You don't want to take the kitchen sink ... especially if you're going to be carrying it on the trail!
- Think about buying things when you need them, like once you arrive in Puerto Natales. Remember you cannot bring fruit or animal products into Chile or Argentina!
- Roll those large bulky items
- Wear your hiking boots on the plane to save on some space
- Think about multi-use items. You could use a pair of zip-off trousers instead of taking trousers and shorts. Bandanas are another great multi-use item, as they can be used as a scarf, a hat, a towel, flannel or emergency sling.
- Choose a lightweight sleeping bag with the right warmth rating. Down is lightest, but not it is not waterproof.
- You don't need to take water! Thankfully Patagonia's waterways are contamination free.
- Removing packaging helps to save on space, while some foods (like peanut butter, for example) can be removed from their heavy containers and squished into tubes.
- On the trek: eat your heaviest food items first
- Weigh your pack before you fill it because some backpacks alone are super heavy!
Do you want more information? Visit cascada.travel and learn about our programs